Chromebooks are famous for their affordable price, easy-to-use interface, and long battery life. However, the lack of a right-click button on a Chromebook’s touchpad can be confusing for those used to a traditional desktop computer. In this article, we’ll guide you through the different ways to right-click on a Chromebook.
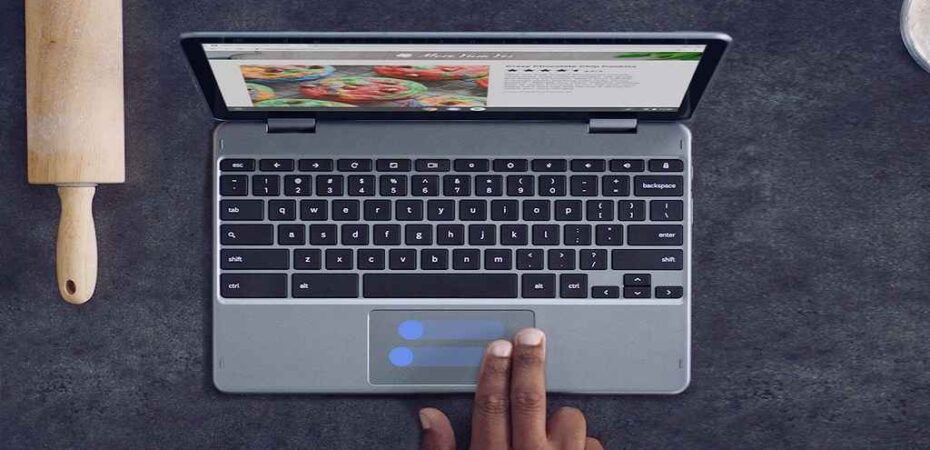
Method 1: Two-Finger Tap

One of the easiest ways to right-click on a Chromebook is to use the two-finger tap method. Here’s how to do it:
Step 1: Place two fingers on the touchpad.
Step 2: Tap the touchpad with both fingers simultaneously.
Step 3: A right-click menu should appear on the screen.
This method is similar to right-clicking on a desktop computer with a mouse. If you’re already used to using a touchpad, this method should feel natural to you.
Method 2: Alt + Click

Another way to right-click on a Chromebook is to use the Alt key in combination with a click. Here’s how to do it:
Step 1: Hover your cursor over the item you want to right-click on.
Step 2: Press and hold down the Alt key on your keyboard.
Step 3: Click the touchpad with one finger.
Step 4: The right-click menu should appear on the screen.
This method may take some practice to get used to, but it can be useful if you prefer using keyboard shortcuts.
Method 3: Enable Tap-to-Click

If you don’t want to use any keyboard shortcuts or two-finger taps, you can also enable tap-to-click on your Chromebook. Here’s how to do it:
Step 1: Click on the clock in the bottom right corner of the screen.
Step 2: Click on the gear icon to open the Settings menu.
Step 3: Scroll down to the Device section and click on Touchpad.
Step 4: Toggle on the option that says “Tap to click.”
Step 5: Close the Settings menu.
Once you’ve enabled tap-to-click, you can simply tap the touchpad with one finger to perform a left click and two fingers to perform a right click.
Method 4: Use a Mouse

If you’re used to using a mouse with a right-click button, you can also connect a mouse to your Chromebook. Here’s how to do it:
Step 1: Plug the mouse into one of the USB ports on your Chromebook.
Step 2: Wait for your Chromebook to recognize the mouse.
Step 3: Right-click on the mouse to bring up the right-click menu.
Using a mouse is the most traditional way to right-click on a computer, and it can be a great option if you prefer a physical button.
Method 5: Use a Stylus
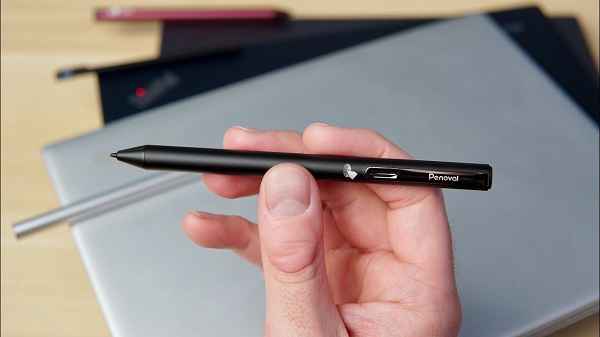
If you have a stylus that’s compatible with your Chromebook, you can also use it to right-click. Here’s how to do it:
Step 1: Hover your stylus over the item you want to right-click on.
Step 2: Press the button on your stylus that’s designated for right-clicking.
Step 3: The right-click menu should appear on the screen.
This method is useful if you’re using your Chromebook for drawing or taking notes and have a stylus on hand.
Conclusion
In conclusion, right-clicking on a Chromebook may seem like a challenge at first, especially for those who are used to using a traditional computer with a separate mouse. However, with a Chromebook, right-clicking is still possible and can be easily accomplished using various methods, such as using the touchpad, holding down the Alt key while clicking, or connecting a separate mouse. By following the simple steps outlined in this guide, users can quickly and efficiently right-click on their Chromebook and access the various options and menus that are available to them. With this knowledge, users can fully take advantage of the functionality and features of their Chromebook and improve their overall user experience.
Read also:

