
If you’re looking for a way to add a professional touch to your photos, you should consider blurring your background in Photoshop. Blurring the location of an image can help focus the viewer’s attention on the subject and is a great way to make your photos look more professional. In this article, I’ll provide a step-by-step guide to blurring your background in Photoshop so you can take your photos to the next level!
Introduction to Blurring Your Background in Photoshop
Creating a blurred background in Photoshop is pretty simple and requires only a few essential tools. You’ll need to know how to select areas of your photo, adjust the blur levels, and add a vignette effect to the background. I’ll explain each of these steps in detail in this article, but first, let’s look at what you’ll need to get started.
What You Need to Get Started
To blur your background in Photoshop, you’ll need the following items:
- A copy of Adobe Photoshop
- A photo to work with
- A mouse or tablet
Once you have these items, you’re ready to get started!
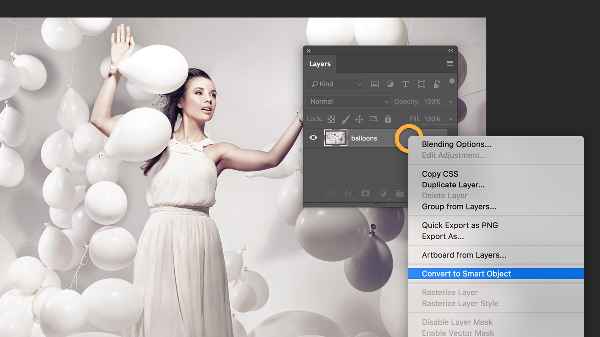
Selecting Your Subject

The first step to blurring your background in Photoshop is to select your subject. To do this, you’ll need to use the selection tools in Photoshop. If your subject is a person or object, you can use the Quick Selection Tool to select them. If your subject is a larger area of the photo, you can use the Lasso Tool or the Polygonal Lasso Tool.
Once you’ve selected your subject, you’ll need to invert the selection. This will ensure that the background is selected instead of the subject. To invert the selection, simply go to Select > Inverse.
Selecting Your Background
Once you’ve inverted the selection, you’ll need to select the background. To do this, you’ll need to use the Magic Wand Tool. This tool will allow you to select the background with a single click. Once you’ve selected the background, you’re ready to move on to the next step.
Using the Blur Tool in Photoshop
Once you’ve selected the background, you can begin blurring it. To do this, you’ll need to use the Blur Tool. This tool is located in the Tools Panel and can be accessed by clicking and holding the Sharpen Tool. Once you’ve selected the Blur Tool, simply click and drag over the background to apply the blur effect.
Adjusting the Blur Levels
Once you’ve applied the blur effect, you’ll need to adjust the blur levels. To do this, you’ll need to access the Blur Settings panel. Simply click on the Blur Tool icon in the Tools Panel, and then click on the “Settings” tab. From here, you can adjust the blur levels to your liking.
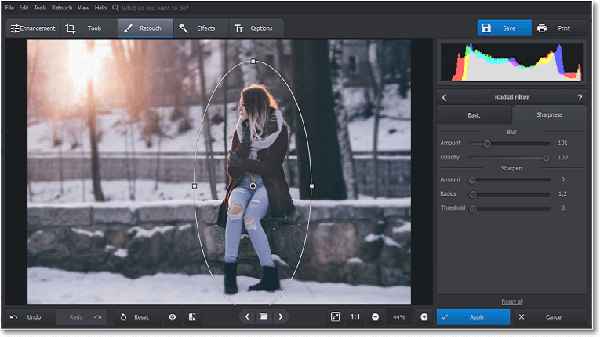
Adding a Vignette Effect
Once you’ve adjusted the blur levels, you can add a vignette effect to the background. To do this, you’ll need to use the Vignette Tool. This tool is also located in the Tools Panel and can be accessed by clicking and holding the Sharpen Tool. Once you’ve selected the Vignette Tool, simply click and drag over the background to apply the vignette effect.
Saving Your Image
Once you’ve added the vignette effect, you’re ready to save your image. To do this, simply go to File > Save As in Photoshop. From here, you can choose where to save the file and what file format you’d like to use. I usually recommend saving the file as a .jpeg or .png, as these formats provide the best quality.
Best Practices for Blurring Your Background in Photoshop
When blurring your background in Photoshop, there are a few best practices to keep in mind. First, make sure to use the Quick Selection Tool to select your subject, as this will ensure that you get the most accurate selection. Second, make sure to adjust the blur levels and vignette effect to your liking. Lastly, make sure to save your image in a lossless format, such as .jpeg or .png.
Conclusion
Blurring your background in Photoshop can be a great way to add a professional touch to your photos. Using the steps outlined in this article, you should be able to create beautifully blurred backgrounds in no time! So, what are you waiting for? Get out there and start blurring your background in Photoshop!
I hope this article has helped you learn how to blur your background in Photoshop! If you have any questions or need help with anything, please don’t hesitate to reach out. I’d be more than happy to help you out. Good luck, and happy blurring!
If you’ve found this guide on how to blur the background in Photoshop useful, please consider sharing it with others who might also benefit from it!
Read also:
- How To Speed Up Videos on iPhone
- How to Easily Cancel Your Peacock Subscription: A Step-by-Step Guide
- How to Stream Disney+ on Discord
- How To Stream Switch On Discord
- List Of Best Unblocked Games 66
- How To Easily Activate Subtitles on HBO Max
- 14 Different Types of Headphones and Earbuds
- Top 6 Alternatives to Prmovies – Get Ready to Watch Now!

