In the digital age, our iPhones have become an extension of ourselves, holding invaluable data, cherished memories, and essential information. However, accidents happen, and devices can malfunction or get lost. That’s where having a backup comes in handy. In this article, we’ll walk you through the step-by-step process of restoring your iPhone from a backup, ensuring that your precious data is never truly lost.
Why Should You Restore from a Backup?

Before we dive into the process, let’s briefly discuss why restoring from a backup is crucial:
- Data Recovery: Accidents, such as a lost or damaged iPhone, can result in data loss. Restoring from a backup helps you recover your photos, contacts, messages, and more.
- Seamless Transition: When upgrading to a new iPhone, restoring from a backup ensures a smooth transition, with all your settings and data intact.
- Security: It’s essential to safeguard your data. Regular backups provide a safety net, protecting you from unexpected data loss due to various reasons.
Creating a Backup
Before you can restore your iPhone, you need a backup to restore from. Here’s how to create one:
Step 1: Connect to Wi-Fi and Power
Ensure your iPhone is connected to Wi-Fi and plugged into a power source. This guarantees a stable connection and sufficient battery life throughout the backup process.
Step 2: iCloud Backup
1: Go to Settings
Open the “Settings” app on your iPhone.
2: Tap on Your Name
Scroll down and tap on your Apple ID at the top of the screen.
3: iCloud
In the Apple ID menu, tap on “iCloud.”
4: iCloud Backup
Scroll down and tap on “iCloud Backup.”
Step 3: Start Backup
Finally, tap “Back Up Now” to initiate the backup process. Ensure you’re connected to Wi-Fi, as this process may consume a significant amount of data.
Restoring from a Backup

Now that you have a backup ready, here’s how to restore your iPhone from it:
Step 1: Erase All Content and Settings
1: Go to Settings
Open the “Settings” app on your iPhone.
2: General
Scroll down and tap on “General.”
3: Reset
Scroll down and tap on “Reset.”
4: Erase All Content and Settings
Tap “Erase All Content and Settings.” This will erase everything on your iPhone to prepare it for the restoration process.
Step 2: Restore from iCloud Backup
1: Set Up Your iPhone
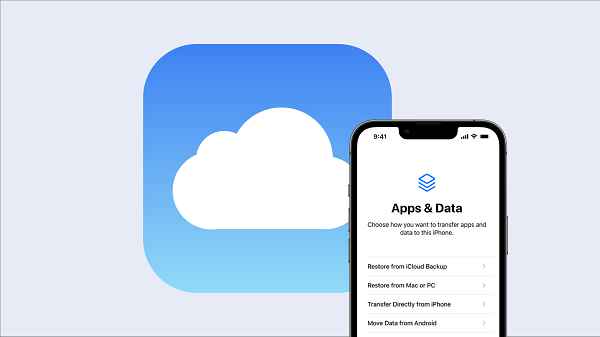
After erasing, your iPhone will restart. Follow the on-screen instructions until you reach the “Apps & Data” screen.
2: Restore from iCloud Backup
Select “Restore from iCloud Backup.”
3: Sign in to iCloud
Sign in to your iCloud account using your Apple ID and password.
4: Choose a Backup
Select the backup you created earlier from the list of available backups.
Step 3: Wait for the Restore to Complete
Your iPhone will now begin restoring from the selected backup. This process may take some time, depending on the size of your backup and your internet connection speed.
FAQs
1. How often should I create backups of my iPhone?
It’s wise to create regular backups, preferably weekly or before any significant software updates or changes to your device.
2. Can I restore my iPhone using iTunes instead of iCloud?
Yes, you can use iTunes to restore your iPhone from a backup. Connect your iPhone to your computer, open iTunes, and select the “Restore Backup” option.
3. Will restoring from a backup delete my current data?
Yes, restoring from a backup will erase all existing data on your iPhone. Make sure to back up any new data before proceeding.
4. Can I restore from an old backup if I want to retrieve specific data?
No, restoring from an old backup will replace all your current data with the data from the selected backup. Consider using other methods to retrieve specific data.
5. What should I do if my backup fails to restore?
If the restoration process encounters an issue, ensure that your internet connection is stable and try the process again. If the problem persists, contact Apple Support for assistance.
Conclusion
Restoring your iPhone from a backup is a lifesaver when you face data loss or when upgrading to a new device. By following the steps outlined in this article, you can ensure that your digital life remains intact, seamlessly transitioning from one device to another, and safeguarding your memories and information.
Read also:
- How to Take a Scrolling Screenshot on iPhone
- What Does 5G UC Mean On Android & iPhone?
- How to Screen Record on iPhone: A Step-by-Step Guide
- Fix ‘Hulu Sound Not Working on iPhone’ Problem
- 5 Ways To Fix “Ask To Buy Not Working on iPhone, iPad, and Mac”
- How to Change Alarm Sounds on iPhone
- How to Dial Letters in the iPhone


